BrEAKING NEWS: NEW T-SHIrTS
Play Frontier has some new shirts for the whole family up on our website, WAHOO! We call them the “Play Compass” design, and they feature our logo with all of our little symbols (shout-out to Eliza Carver for her awesome design skills!). They look really sleek in all-black and are guaranteed to hide all the dirt and paint and berry-snacks-leftovers for kids…
…But we are bored at home and want to take these shirts to the NEXT LEVEL. And don’t want to leave or order tie-dye supplies right now…
… Say hello to the BLEACH-TIE-DYE method of your quarantine dreams!
We used a few simple ingredients from around the house (no store trip required!) to make some super awesome upgrades to our new Play Frontier shirts.
Gather Your Tools and Ingredients:
Let’s do this! It takes about two hours from start to finish, counting washing machine time. You will need:
1 C bleach
1 C cold water (Don’t make steam! Hot water makes bleach work less well, and you don’t want to breath in steamy bleach. Yuck!)
Rubber bands. I like the big fatties that come on produce for the full shirt wrap, and tiny hairbands for more precise work. The tighter you make them, the more defined your final pattern will be!
Bleach-safe bucket
Bleach-safe utensil
Bleach-safe surface
Rubber gloves (you can use dish-style ones for this too, just be sure to rinse them well before dripping them anywhere)
Once the tools are assembled, the shirt making itself is pretty easy. Find any “DIY Tie-Dye” instructions for rubber banding patterns. The list here over at Parents.com was really helpful! I personally like “fork spiral” method, and my husband likes the "wad-and-go” method. They both have a great bang for your buck as far as easy wrapping and great results go.
Step 1: Wrap Your Shirt
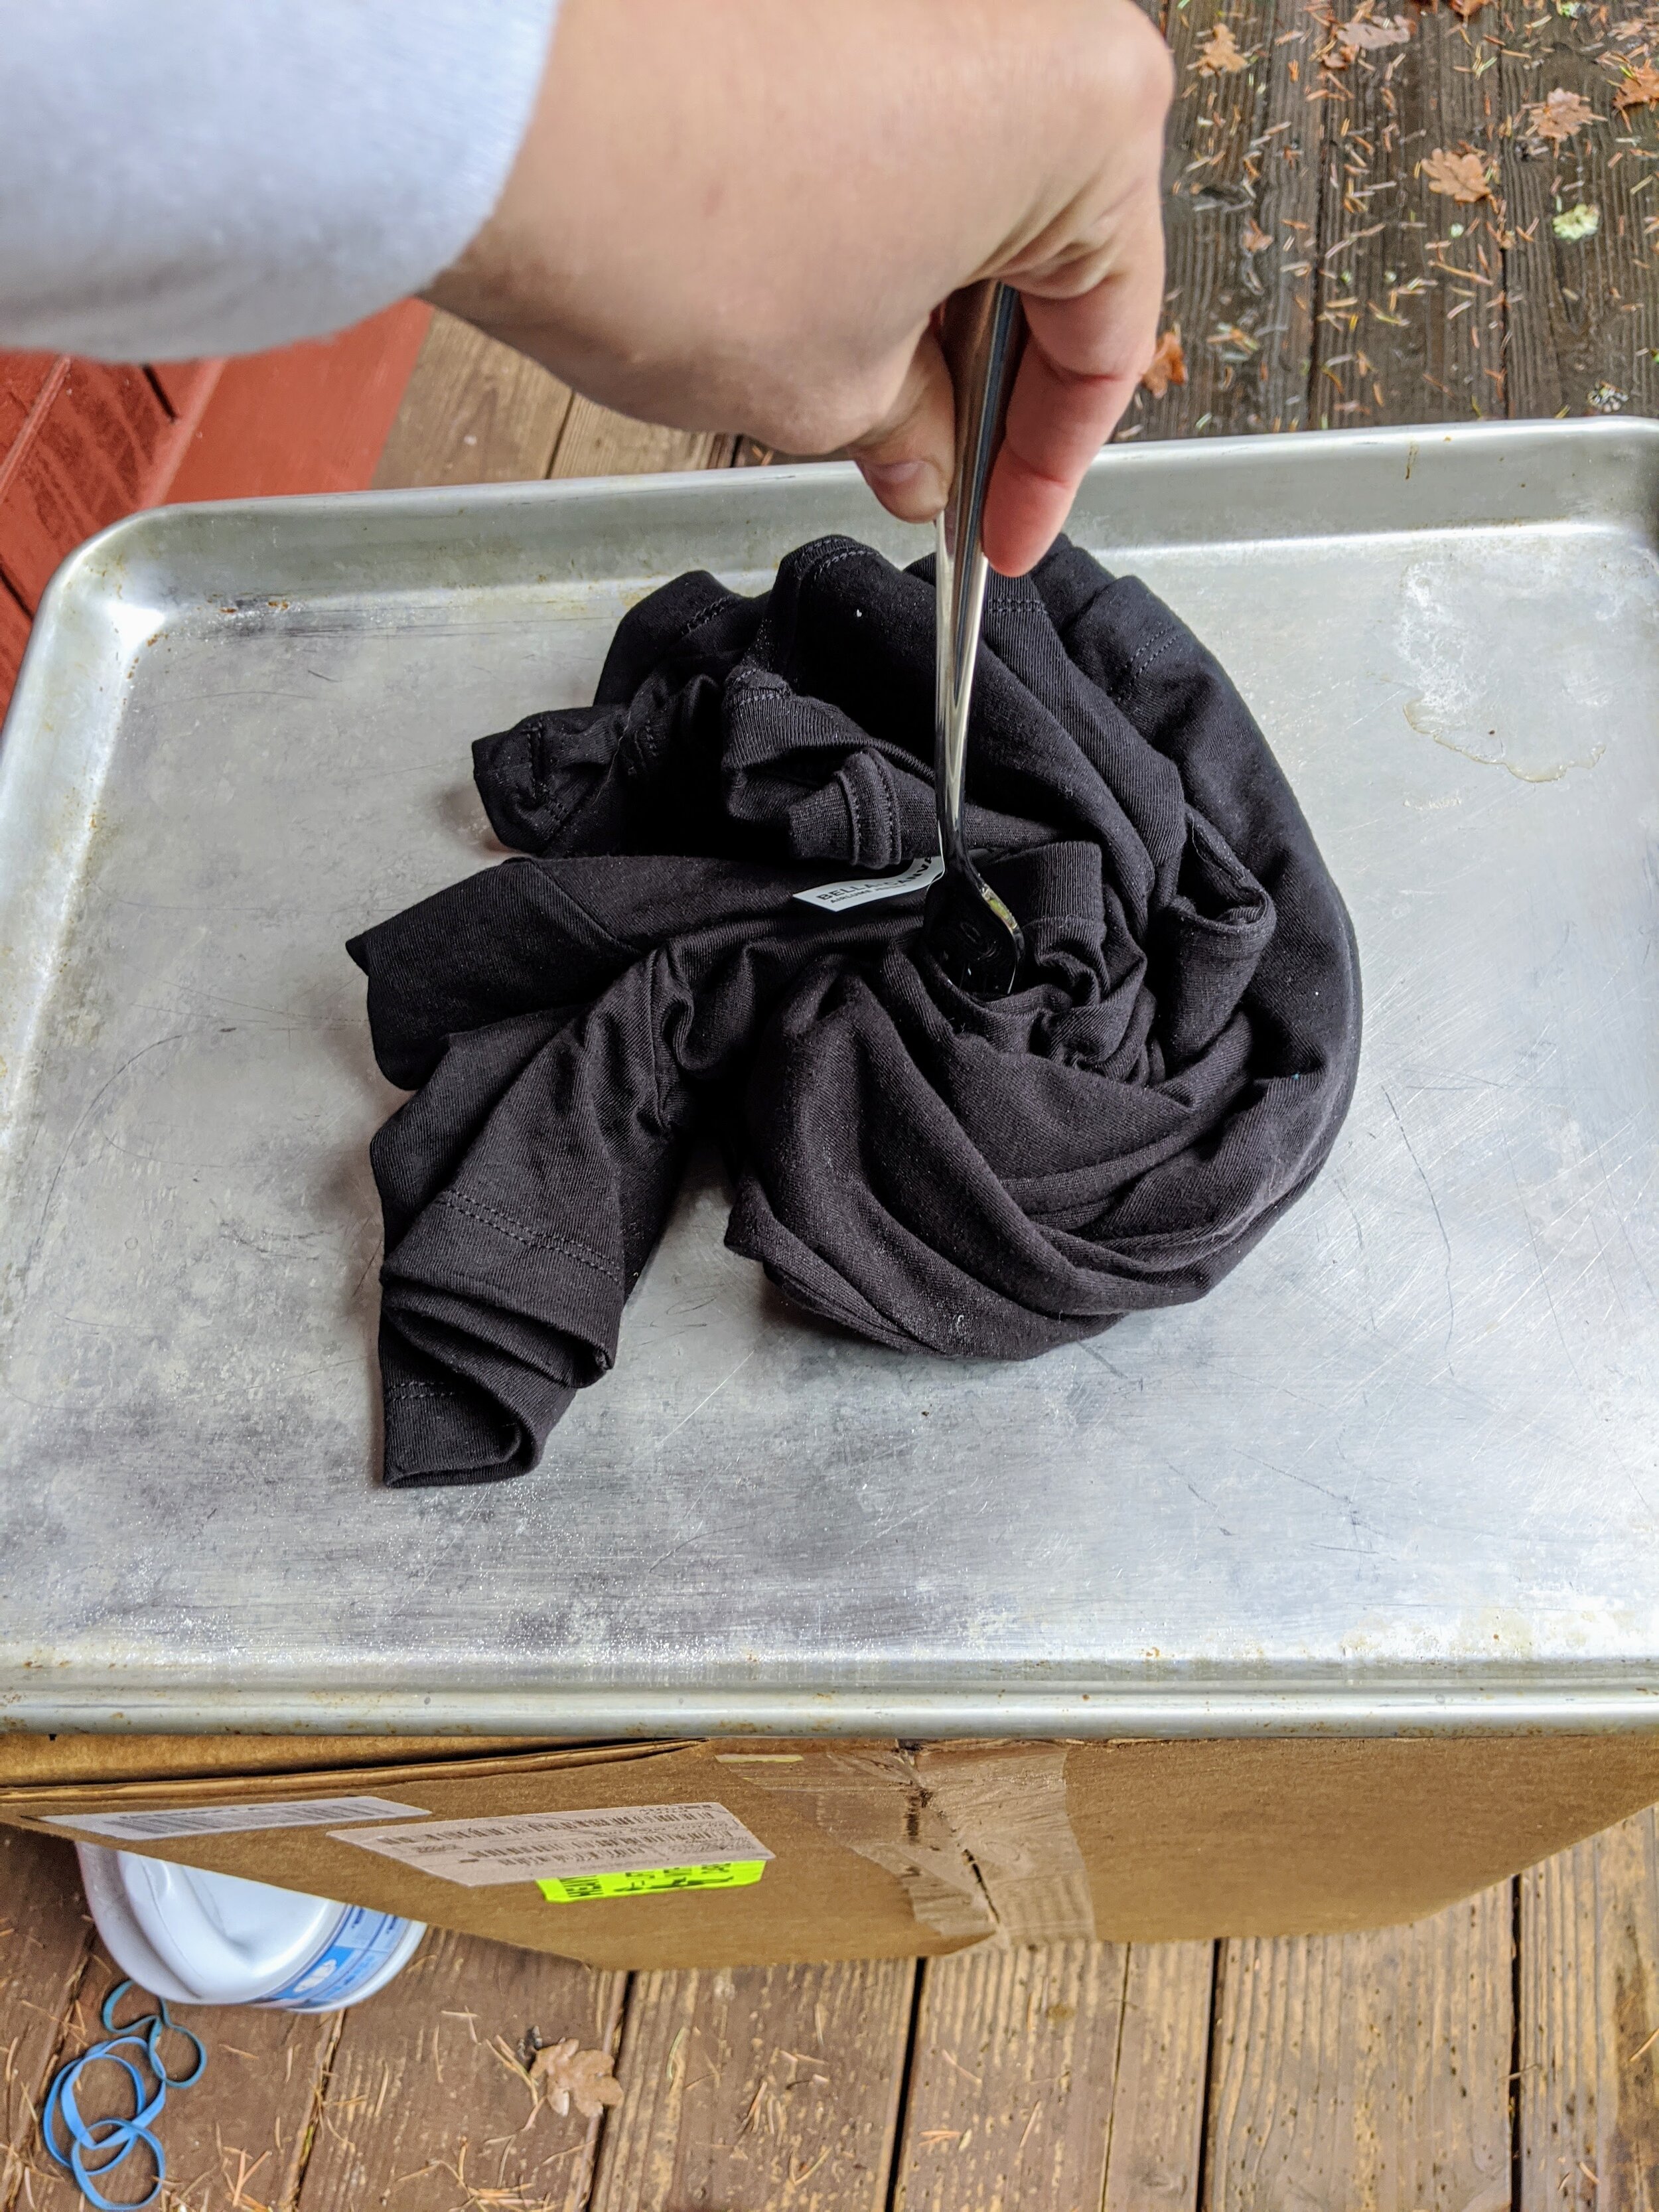
Our two favorite methods are the “wad-and-go” method and the “fork-spiral” method. The wad-and-go is exactly what it sounds like. Wad it and twist it all willy-nilly, add as many rubber bands as you want. It’s hard to go wrong with this method! Another fun way to do this is to have kids put the little rubber bands on anywhere they want, then wad and go. The fork spiral is a little fancier but looks awesome every time. Here’s how to fork spiral:
Step 2: Bleach Bath
Once you’re fully banded, GROWN-UPS ONLY dunk the shirt until it’s completely submerged, and hold it there for about 1 minute. I used the fork to push this one down the whole time, do NOT use your bare hands with this concentration of bleach!!! I used the fork again to scoop it out.
Remove from the water and let it sit for as long as you want. We did ours for 1 hour, although you can do more or less as you see fit. Whenever it gets to the shade you like, you’re ready for the next step!
Step 3: Rinse and Wash
This step is an EXTRA CAREFUL step. Make sure you don’t drip anywhere. Always use cool water so you don’t inhale bleach steam. GROWN-UPS ONLY!!! Give it a little pre-rinse, then remove the rubber bands and rinse rinse rinse rinse until all the water runs clear. After that, wash it in a washing machine by itself so you don’t accidentally dye/bleach your other clothes!
Step 4: Wear
This is my new favorite shirt, it turned out so cool! Can’t wait to see all of your shirts too!


